CNC Drilling and Milling with Tormach
We are very fortunate to have Dr. Baksh, Nicholas, who is dedicated to providing a better learning environment for Mechanical and Aerospace Engineering students at the University of South Florida. He has introduced a digitally controlled CNC drilling and milling machine, the Tormach PathPilot, which enables us to perform precise machining and create customized patterns with high accuracy.
Workflow:Design the artwork → Generate toolpaths (CAM) → CNC machining on Tormach
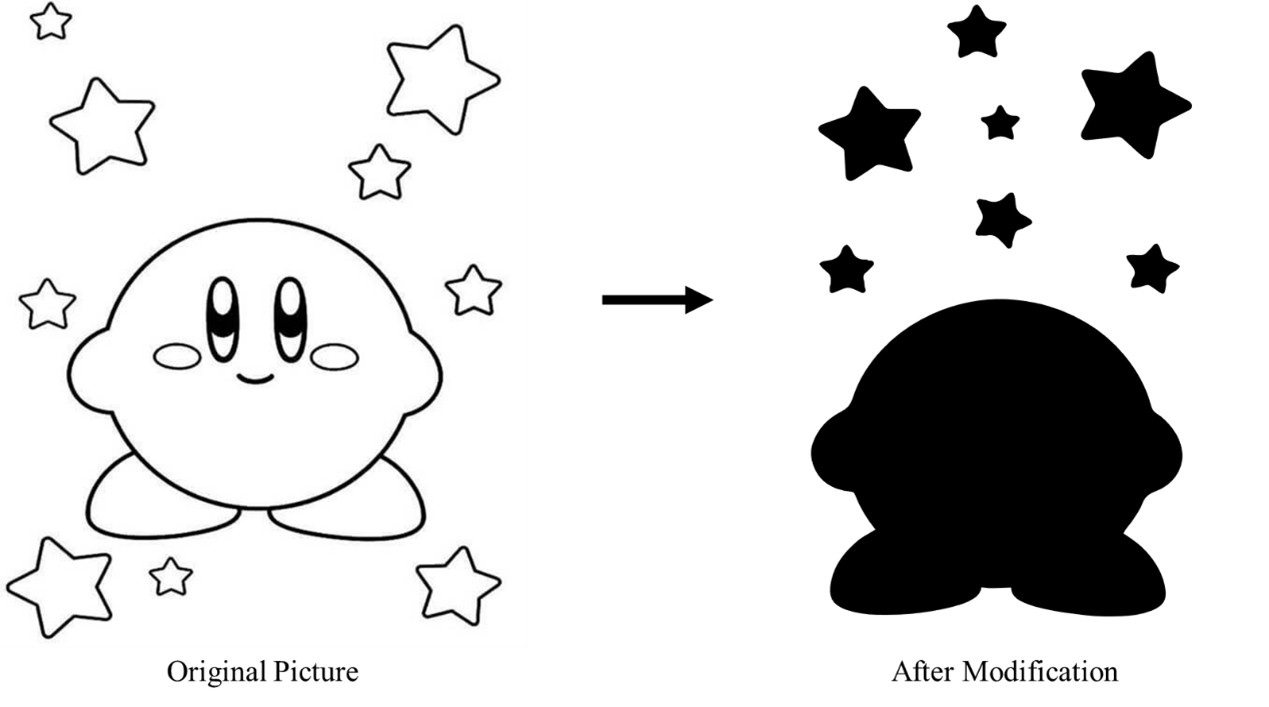
Since I am not a professional designer, I chose my favorite character, Kirby, from Google and converted the image into an .svg file that can be recognized by Autodesk Fusion 360. This conversion was performed using the open-source software Inkscape. To prepare the geometry for machining, I filled all enclosed regions that I intended to extrude. Due to tooling limitations (no end mill smaller than 1/8 inch diameter was available at the time), I simplified the geometry by removing fine details, particularly those on Kirby’s face.
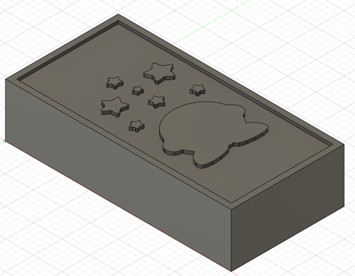
This step is carried out using Autodesk Fusion 360, which provides an integrated CAD/CAM environment. (Open-source alternatives may also exist, although Fusion 360 was used in this project.) The workflow begins by defining the stock geometry within the software. The imported .svg file is then positioned on top of the stock, and machining operations (e.g., cutting or extrusion) are defined based on the desired final geometry. After completing these steps, the setup appears as follows:
Next, machine and tooling parameters must be specified. These parameters vary depending on the specific case and include considerations such as tool size, spindle speed, and feed rate. At this stage, it is important to account for the physical limitations of the CNC machine and plan the machining strategy accordingly, including the correct sequence of operations. The setup defined in Fusion 360 closely reflects the real-world configuration of the Tormach machine. A key advantage of this workflow is the built-in simulation feature, which allows verification of the toolpath and helps identify potential issues before actual machining.
Once the simulation is verified, the G-code can be generated, saved to a USB drive, and transferred to the Tormach machine for execution.
The final step is to perform drilling and milling operations on the Tormach machine. This begins with initializing both the hardware and control software, followed by setting up the work coordinate system (zeroing the axes). Once the setup is complete, the machining process can be executed.
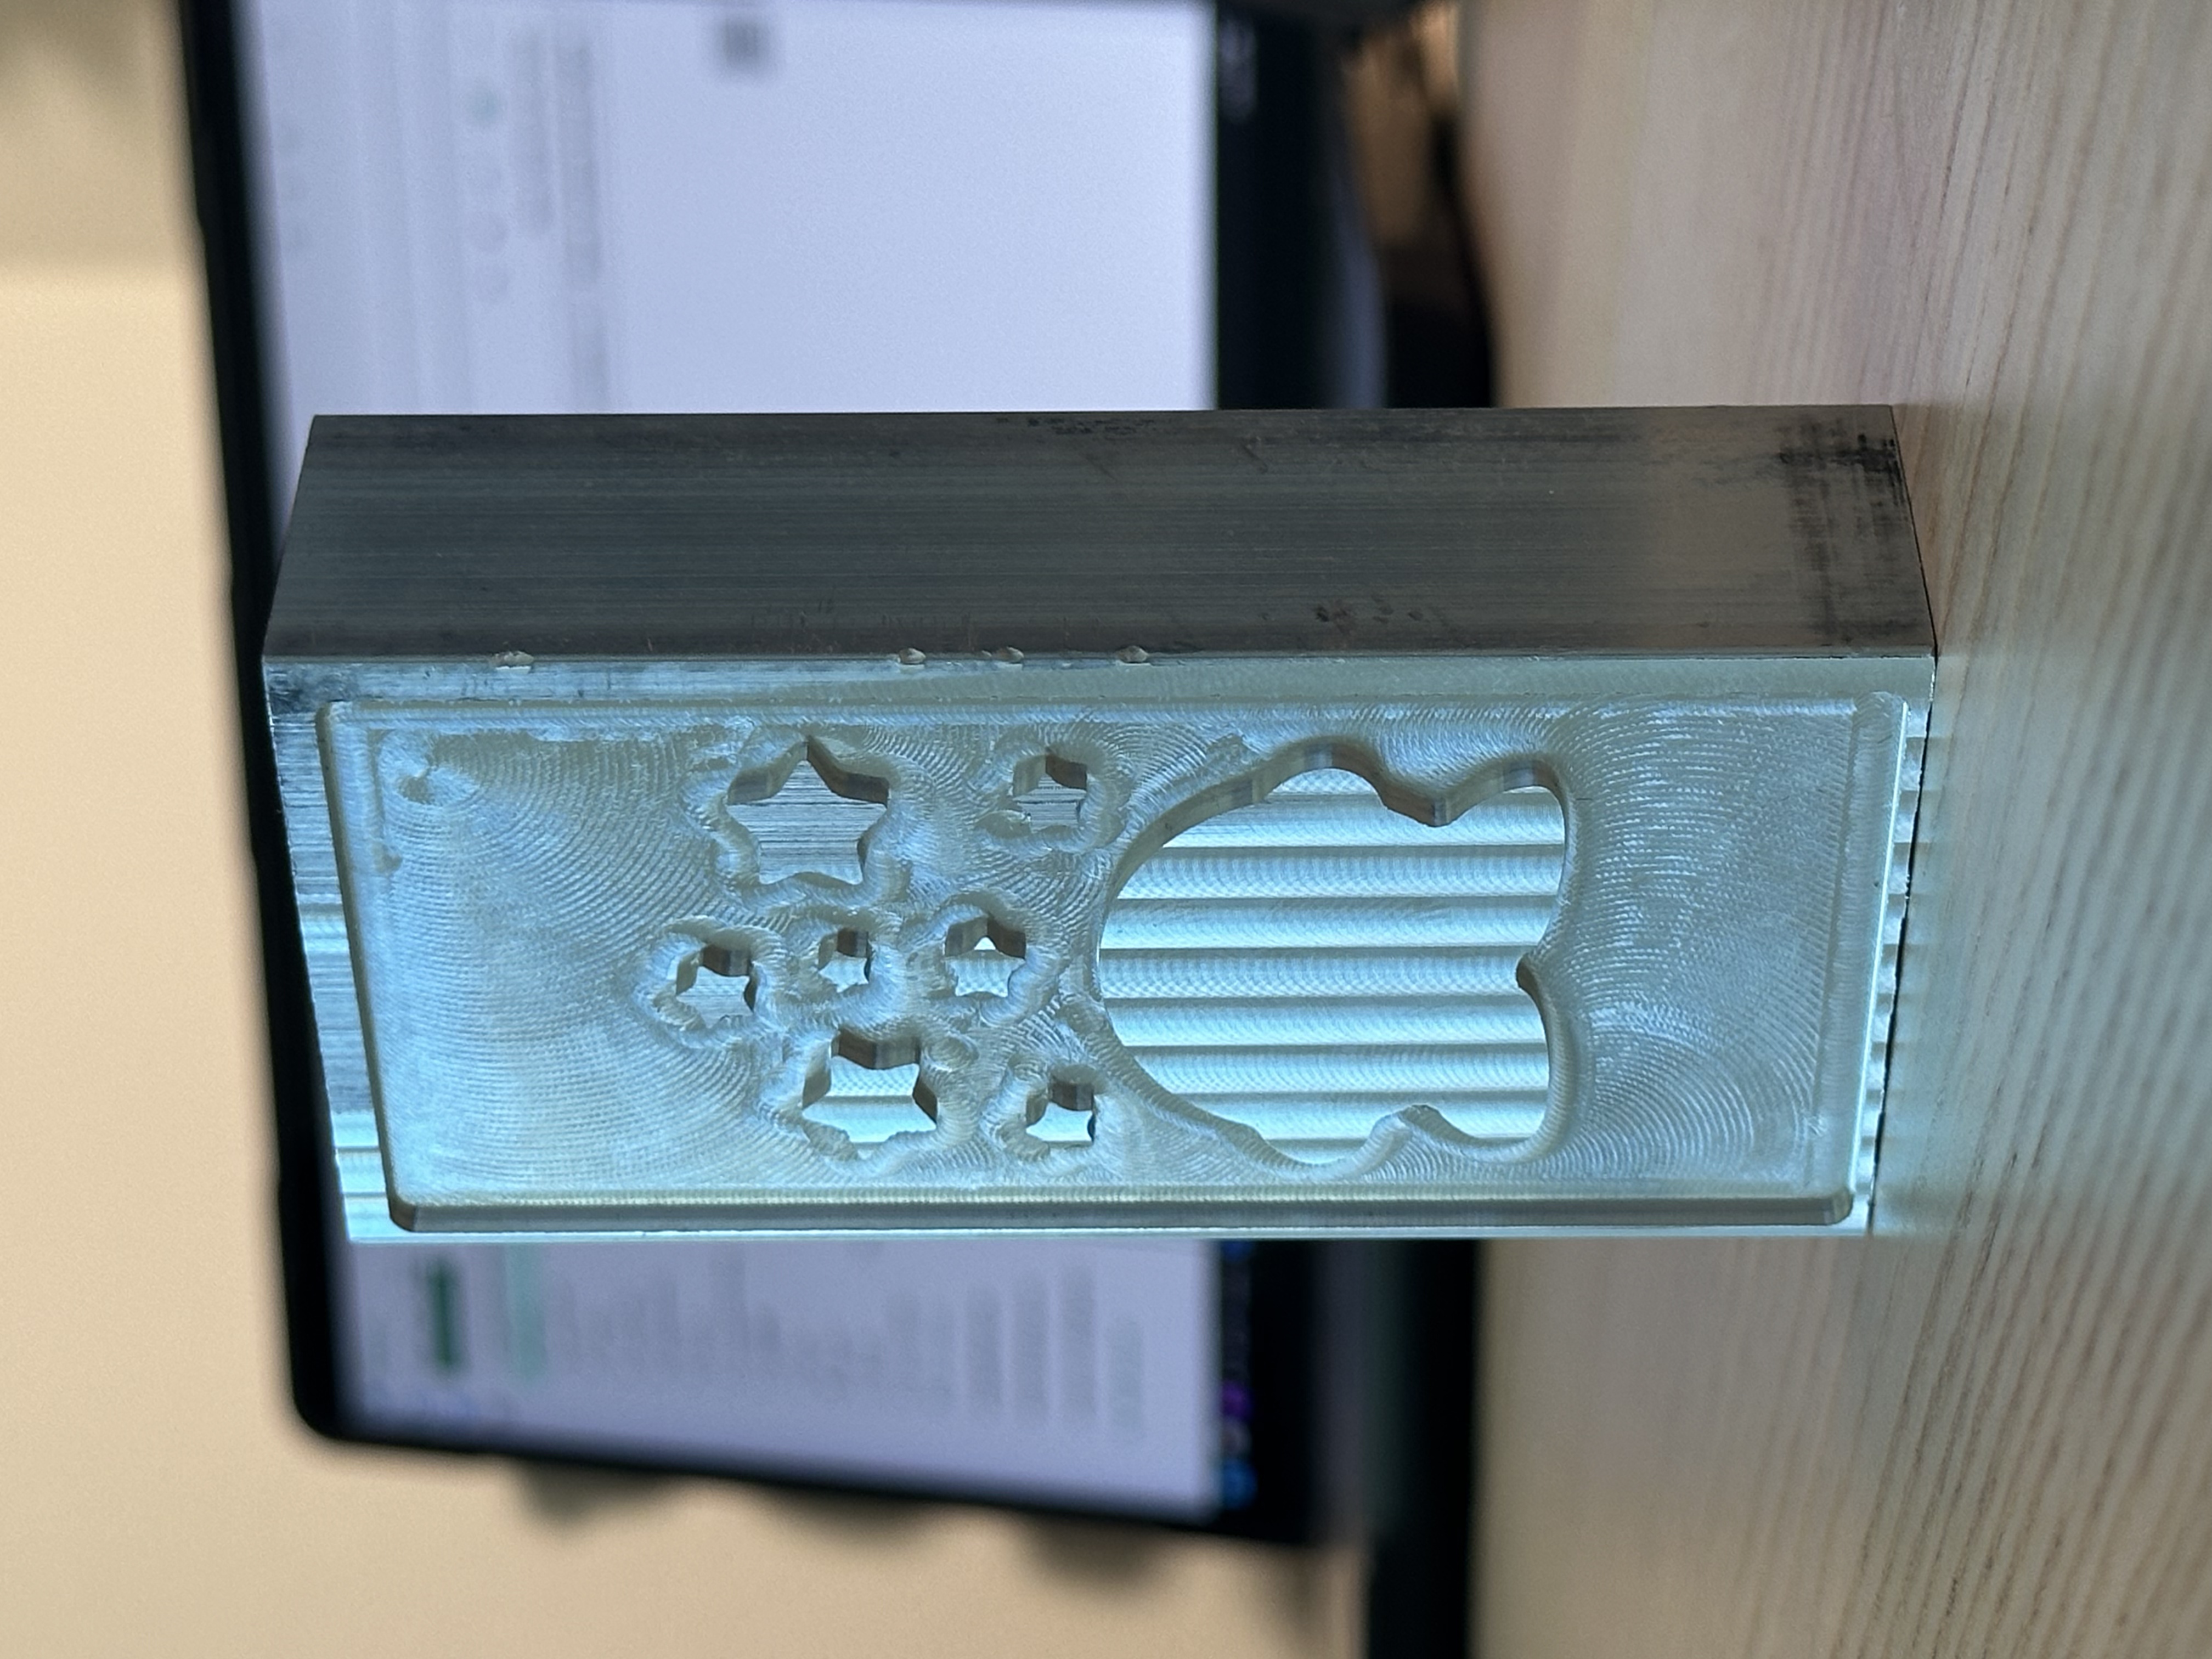
Finally, we have our Kirby on a piece of aluminum.